Air sealing in California refers to sealing cracks and gaps in a home’s exterior to prevent air leakage. It is a crucial step in improving energy efficiency and reducing energy waste. It is a crucial step in improving energy efficiency in homes. It involves identifying and sealing any cracks, gaps, or openings in the home’s exterior that allow for air exchange between the inside and outside environments. By sealing these air leaks, homeowners can prevent the loss of conditioned air and reduce energy waste.
When a home is not adequately air-sealed, air can freely flow in and out of the building envelope. This can lead to several issues, including increased energy consumption, reduced comfort levels, and higher utility bills. Air sealing aims to create a more airtight barrier, reducing the amount of conditioned air that escapes and the amount of outside air that infiltrates the home.
Importance of Air Sealing in California’s Energy Efficiency Efforts
Air sealing is a critical component of California’s energy efficiency efforts. Here are some reasons why air sealing is essential in California:
- Energy Savings: Air leaks in a home can result in significant energy losses. By adequately sealing these leaks, homeowners can reduce their energy consumption and save money on heating and cooling costs.
- Increased Comfort: Air leaks not only allow conditioned air to escape, but they also let in drafts, dust, allergens, and outdoor noise. By air sealing, homeowners can create a more comfortable living environment by maintaining consistent indoor temperatures and reducing drafts.
- Environmental Benefits: Improving energy efficiency through air sealing helps reduce energy demand, reducing greenhouse gas emissions. California can work towards achieving its clean energy goals and combating climate change by reducing energy waste.
- Improved Indoor Air Quality: Air sealing can help prevent the entry of outdoor pollutants and allergens into the home, improving indoor air quality. This is especially important for individuals with respiratory conditions or allergies.
Common Areas for Air Leaks in California Homes
In California, there are several common areas in homes where air leaks typically occur. These include:
1. Windows and doors: Gaps and cracks around windows and doors are often significant sources of air leaks. Properly sealing these openings can significantly reduce energy waste.
2. Attic and crawl space access points: Gaps around attic hatches, access doors, and entrances allow air to move freely between conditioned and unconditioned spaces.
3. Electrical outlets and switches: Gaps around electrical outlets and switches on exterior walls can contribute to air leakage. Installing foam gaskets behind outlet covers can help reduce these leaks.
4. Plumbing and wiring penetrations: Holes and gaps around pipes, vents, and electrical wires where they enter or exit the home can allow air to escape. Sealing these penetrations with caulk or foam can help improve energy efficiency.
5. Ductwork: Leaky ductwork can cause significant air loss and decrease the efficiency of heating and cooling systems. Properly sealing and insulating ducts can improve overall energy performance.
By addressing these common areas of air leakage and implementing effective air sealing measures, homeowners can increase their homes’ energy efficiency, reduce energy waste, and save on utility bills. It is advisable to consult with a professional energy auditor or contractor to determine the best air-sealing strategies for your specific home and climate.
Benefits of Air Sealing
Energy Savings and Lower Utility Bills
Air sealing your home has several benefits, including significant energy savings and lower utility bills. By sealing off air leaks, you can prevent the loss of conditioned air and reduce energy waste. This means your heating and cooling systems won’t have to work as hard to maintain a comfortable temperature, resulting in lower energy consumption and reduced utility bills.
Increased Comfort and Indoor Air Quality
Another benefit of air sealing is increased comfort in your home. You can create a more consistent and comfortable indoor environment by preventing drafts and air leaks. No more cold drafts in the winter or hot spots in the summer!
Air sealing also helps improve indoor air quality by reducing the infiltration of outdoor pollutants, such as dust, pollen, and allergens. This is especially beneficial for individuals with respiratory conditions or allergies. You and your family can enjoy a healthier living space with better indoor air quality.
Air Sealing Techniques
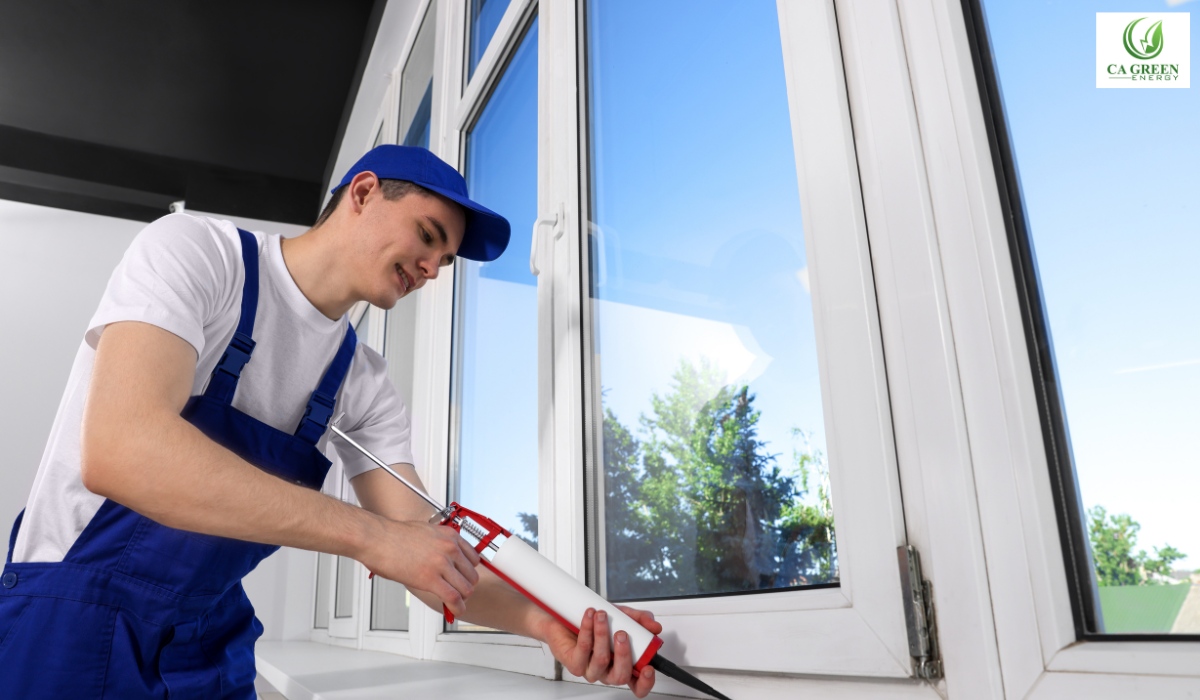
Caulking: An Effective Air Sealing Method
Caulking is a commonly used method for air sealing that involves using a sealant, such as silicone or latex caulk, to fill gaps and cracks around windows, doors, and other stationary objects. Caulking is a versatile and cost-effective way to seal air leaks and prevent energy waste. Here’s how it works:
- Identify the gaps and cracks: Inspect the exterior of your home for any visible gaps or cracks around windows, doors, and other areas where air leakage is likely to occur.
- Choose the right caulk: Select a quality caulk appropriate for the material you are sealing. Siliconized latex caulk is a popular choice for most applications. Ensure the caulk is weather-resistant and flexible to withstand movement and temperature changes.
- Prepare the surfaces: Clean the surfaces to be caulked and remove any old caulk or debris. Smooth the surface with a putty knife or sandpaper to ensure proper adhesion.
- Apply the caulk: Cut the caulk tube’s tip at a 45-degree angle, then puncture the inner seal with a nail or screwdriver. Load the caulk tube into a caulk gun and apply a thin and even bead of caulk along the gap or crack. Use a caulk smoother or a damp finger to smooth the caulk and remove any excess.
- Allow the caulk to cure: Follow the manufacturer’s instructions for the recommended curing time. Typically, it takes about 24 hours for caulk to cure fully. Avoid disturbing the caulked area during this time.
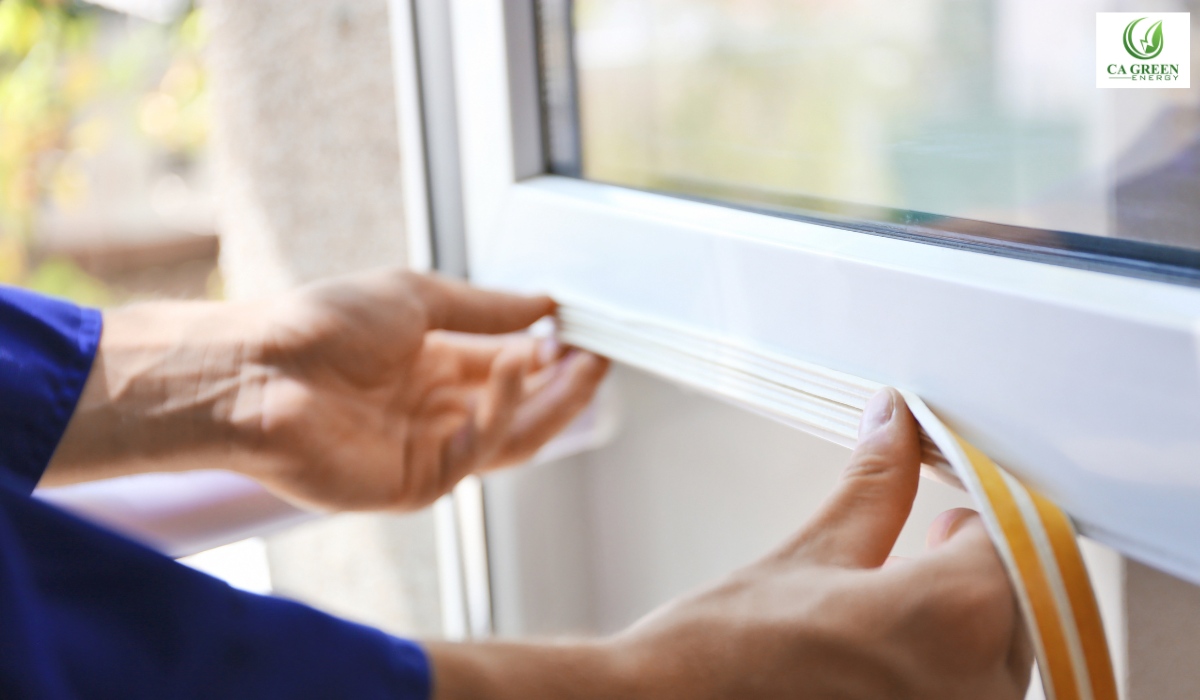
Weather Stripping: Sealing Gaps in Doors and Windows
Weatherstripping is another effective method for air sealing that focuses on sealing gaps in movable parts of windows and doors. This method involves applying adhesive-backed strips or tapes to create a tight seal when these openings are closed. Here’s how to weather strip doors and windows:
- Identify the gaps: Inspect the movable parts of your doors and windows for any visible gaps or spaces where air leaks.
- Choose the proper weather stripping material: Various weather stripping materials are available, including adhesive-backed foam tape, V-strip, and door sweeps. Select the material that best suits your specific needs and the type of gap you are sealing.
- Measure and cut the weather stripping: Measure the length of the gap and cut the weather stripping material to fit. Leave a slight overlap to ensure a tight seal.
- Apply the weather stripping: Peel off the backing from the adhesive side of the weather stripping and carefully press it into place along the gap. Start from one end and continue applying until the entire gap is sealed.
- Test the seal: Close the door or window gently and check for any gaps or areas where the weather stripping might need adjustment. Make sure the seal is tight, and there are no noticeable leaks.
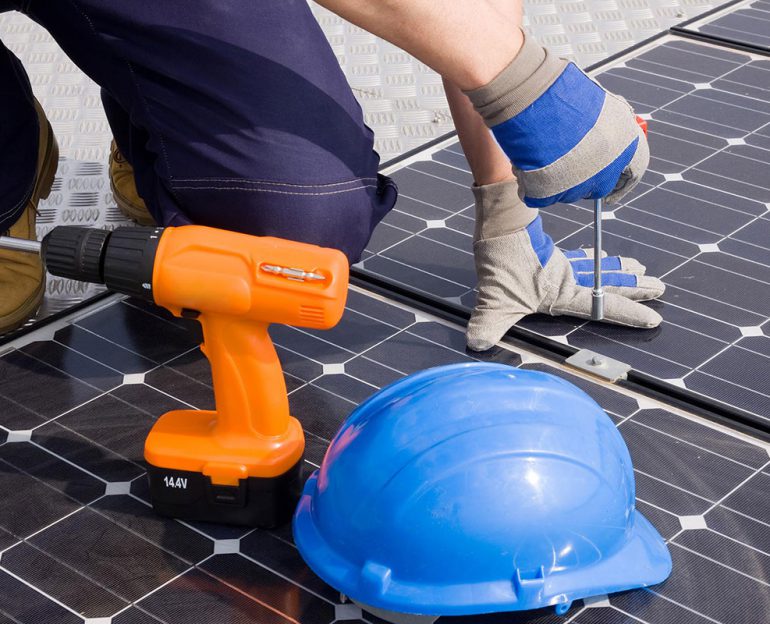
Importance of Hiring an Expert for Air Sealing
When it comes to air sealing your home, hiring a professional with the knowledge and expertise in building science is essential. Here are a few reasons why hiring an expert for air sealing is essential:
1. Experience and Knowledge: An expert in air sealing will have the necessary experience and knowledge to identify air leaks accurately and understand the best techniques to seal them effectively. They will know how to assess your home’s specific needs and provide tailored solutions.
2. Efficiency and Effectiveness: Professionals can access specialized tools and equipment to perform air sealing tasks efficiently and effectively. They can ensure all gaps and cracks are properly sealed, minimizing air leakage and maximizing energy savings.
3. Compliance with Building Codes: Hiring a professional ensures that your air sealing project complies with local building codes and regulations. They will work by industry standards, ensuring the safety and quality of the work performed.
4. Cost Savings: While hiring a professional may involve an upfront cost, their expertise can lead to long-term cost savings. Properly sealed homes experience reduced energy waste and lower utility bills, resulting in significant savings over time.
DIY Air Sealing
Tools and Materials Needed for DIY Air Sealing
To successfully perform air sealing in your home, you’ll need the following tools and materials:
- Caulk gun: A caulk gun is necessary for applying caulk in a controlled manner.
- Caulk: Choose a quality caulk appropriate for your sealing material.
- Putty knife or sandpaper: These tools are needed to prepare the surfaces before applying caulk.
- Caulk smoother or damp finger: Use these tools to smooth out the caulk and remove excess.
- Weatherstripping material: Select the weather stripping appropriate for your doors and windows.
- Scissors or utility knives: These tools are necessary for cutting the weatherstripping material to fit.
- Adhesive: Some weather stripping materials may require adhesive for proper installation.
Step-by-Step Guide to DIY Air Sealing
Follow these steps to perform air sealing in your home:
1. Identify air leaks: Inspect the exterior of your home for visible gaps and cracks around windows, doors, and other areas where air leakage is likely to occur.
2. Caulking: Use caulk to fill gaps and cracks in stationary objects such as windows and doors. Follow the steps outlined in the previous section on caulking.
3. Weather stripping: Apply weather stripping to create a tight seal for movable parts of windows and doors on movable parts of windows and doors. Refer to the steps outlined in the previous section on weather stripping.
4. Check for proper seals: After caulking and weather stripping, close windows and doors to check for gaps or areas needing adjustment. Ensure that the seals are tight and there are no noticeable leaks.
5. Consult with a professional: A professional energy auditor or contractor can provide expert advice and guidance on the best air sealing strategies for your home and climate.
Following these DIY air sealing techniques can effectively reduce air leakage in your home. This will improve energy efficiency, enhance comfort levels, and reduce utility bills. Remember, proper air sealing is essential to creating a more energy-efficient and sustainable home.
Cost of Air Sealing
Factors Affecting the Cost of Air Sealing
The cost of air sealing your home can vary depending on several factors, including:
- Size of the home: The more significant the home, the more potential areas for air leakage, which may increase the cost of air sealing.
- Condition of the home: Older homes may have more cracks and gaps that need to be sealed, potentially increasing the cost.
- Accessibility of areas to be sealed: If certain areas of your home are difficult to access, such as high ceilings or tight crawl spaces, sealing them may require additional time and effort, resulting in higher costs.
- Type of sealing materials: The cost of caulk and weather stripping materials can vary depending on the quality and type. Higher-quality materials may have a higher upfront cost but can provide better long-term results.
- Professional vs. DIY: Hiring a professional energy auditor or contractor to perform the air sealing can add to the overall cost. However, they have the expertise to identify areas of air leakage that an inexperienced DIY homeowner may go unnoticed.
Potential Return on Investment
While the upfront cost of air sealing may vary, it is essential to consider the potential return on investment. By reducing air leakage, you can:
- Lower energy bills: By minimizing the amount of conditioned air that escapes your home and outside air that enters, you can reduce the need for heating and cooling, resulting in lower energy bills.
- Improve comfort levels: Air sealing helps to maintain a consistent temperature throughout your home, reducing drafts and hot or cold spots and improving overall comfort.
- Increase the lifespan of HVAC systems: With less strain on your heating and cooling systems, they can operate more efficiently and potentially have a longer lifespan.
- Enhance indoor air quality: Air sealing helps to prevent dust, pollutants, and allergens from entering your home, improving the overall indoor air quality.
While the exact return on investment will depend on various factors, such as the size of your home, local climate, and energy prices, air sealing is generally considered a cost-effective measure that can provide long-term savings and benefits.
Improve Energy Efficiency in California Homes
Air sealing is crucial in improving energy efficiency and reducing energy waste in California homes. By sealing cracks and gaps in the home’s exterior, homeowners can prevent air leakage, keeping conditioned air inside and reducing the need for heating and cooling. This, in turn, leads to lower energy bills, increased comfort, and a reduced carbon footprint.
If you haven’t already, consider implementing air-sealing measures in your home. Start by researching the programs and incentives available in your area, such as those offered by Energy Upgrade California and your local utility companies. Determine your eligibility and proceed with the necessary air-sealing work. Remember to gather documentation and submit applications for rebates and tax credits.
By taking these steps, you can make your home more energy-efficient, save money on energy bills, and contribute to a more sustainable future. Don’t miss out on the available incentives and rebates for air sealing in California. Start your air sealing journey today and reap the benefits for years.